

Enable global marketing content
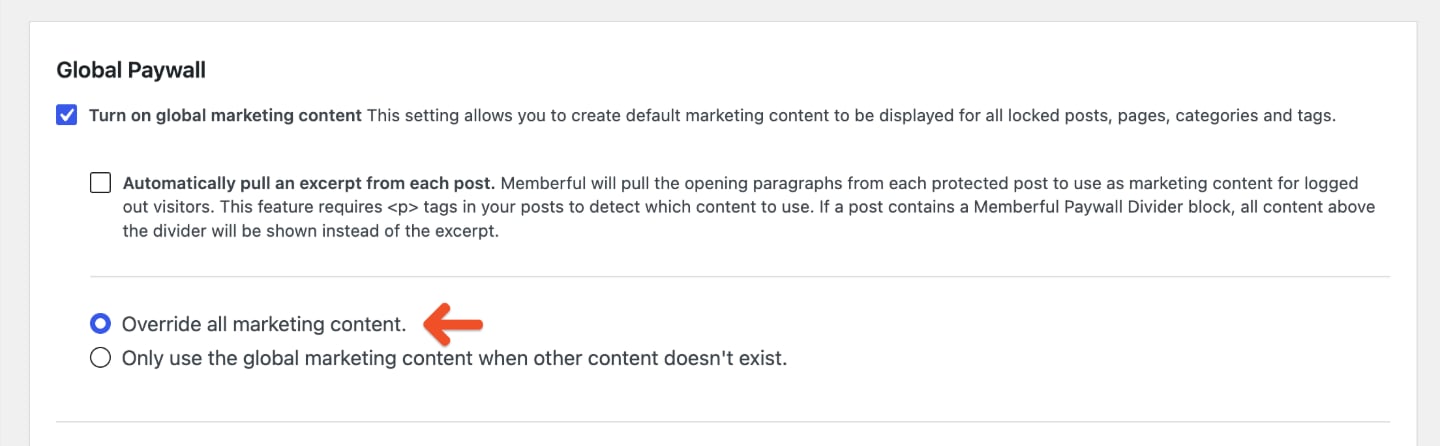
Global marketing content lets you create default marketing content for protected WordPress posts, pages, categories, and tags. In your WordPress dashboard, go to Settings → Memberful, then click Global Paywall.

- Override all marketing content: Marketing content in Memberful’s meta boxes will be replaced in all protected pages and posts.
- Only use the global marketing content when other content doesn’t exist: The global marketing content will only be displayed on protected pages or posts that have an empty Memberful meta box.
Automatically show an excerpt
Check Automatically pull an excerpt from each post if you want Memberful to show the opening paragraphs from protected posts as marketing content for logged-out visitors. Enter the number of paragraphs to show in Paragraphs before paywall. Your posts must use<p> tags for Memberful to detect which content to show.
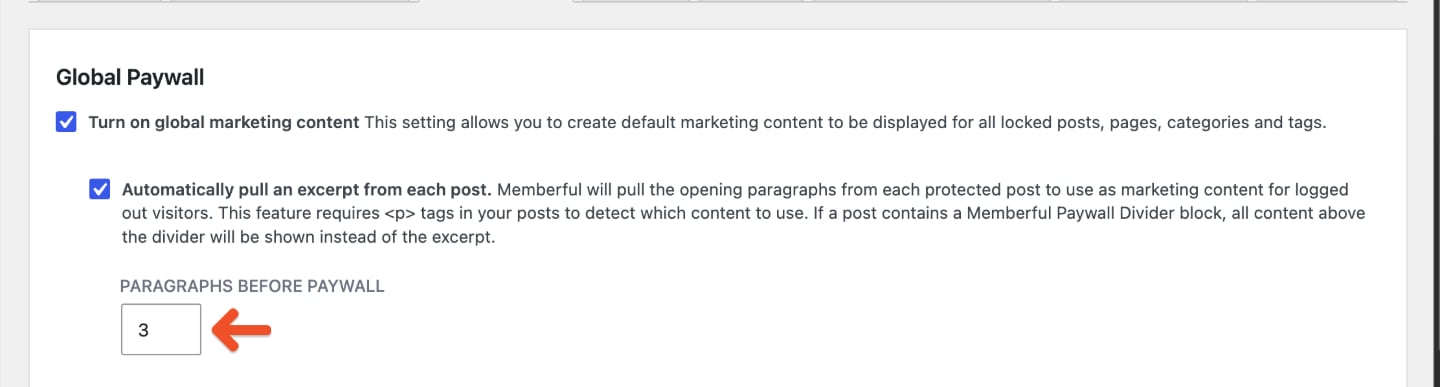
If a post contains a Memberful Paywall Divider block, all content above the divider appears instead of the excerpt. This lets you choose exactly where protected content begins within a post or page.For setup instructions, see Restrict access to a single post or page.
Choose a paywall type
In the Global Paywall settings, choose how you want to build your paywall.Visual Paywall
Use Memberful’s built-in paywall editor to customize the message, layout, colors, and call to action without writing code.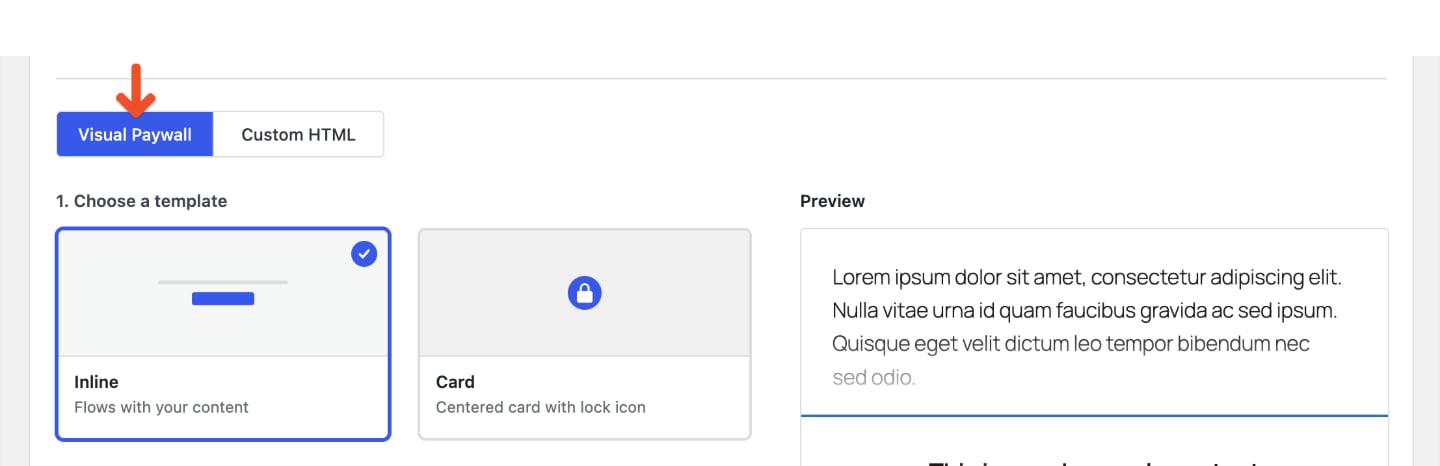
Custom HTML
Add your own content when you need a fully custom paywall or advanced styling.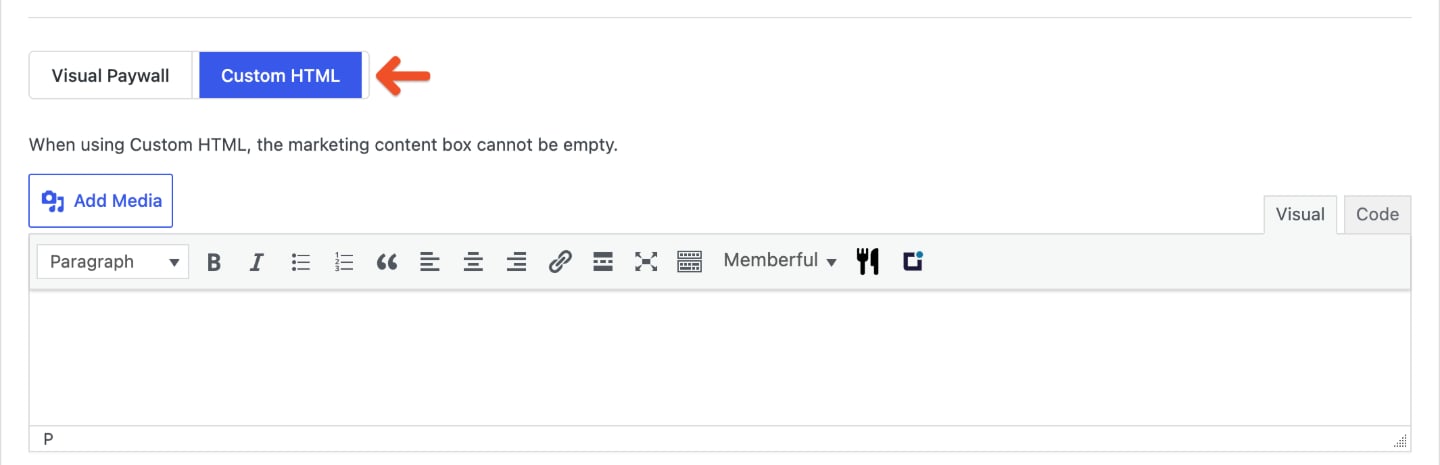
Customize the Visual Paywall
Click Visual Paywall to use the built-in editor. The preview updates as you customize the paywall.Choose a template
Choose one of the available templates: Inline: Displays within the content flow.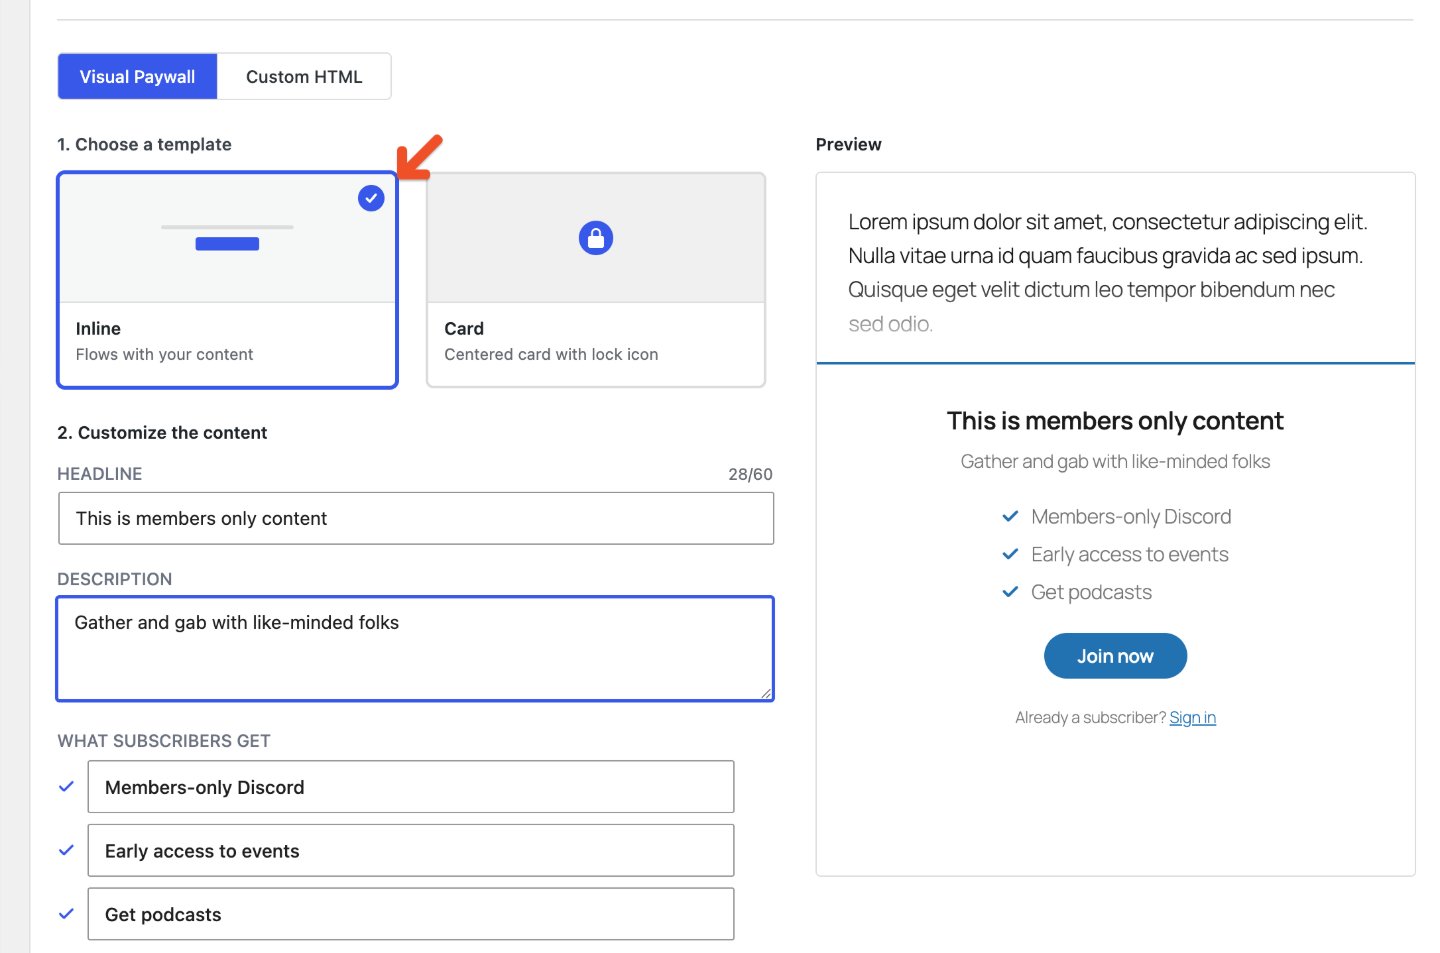
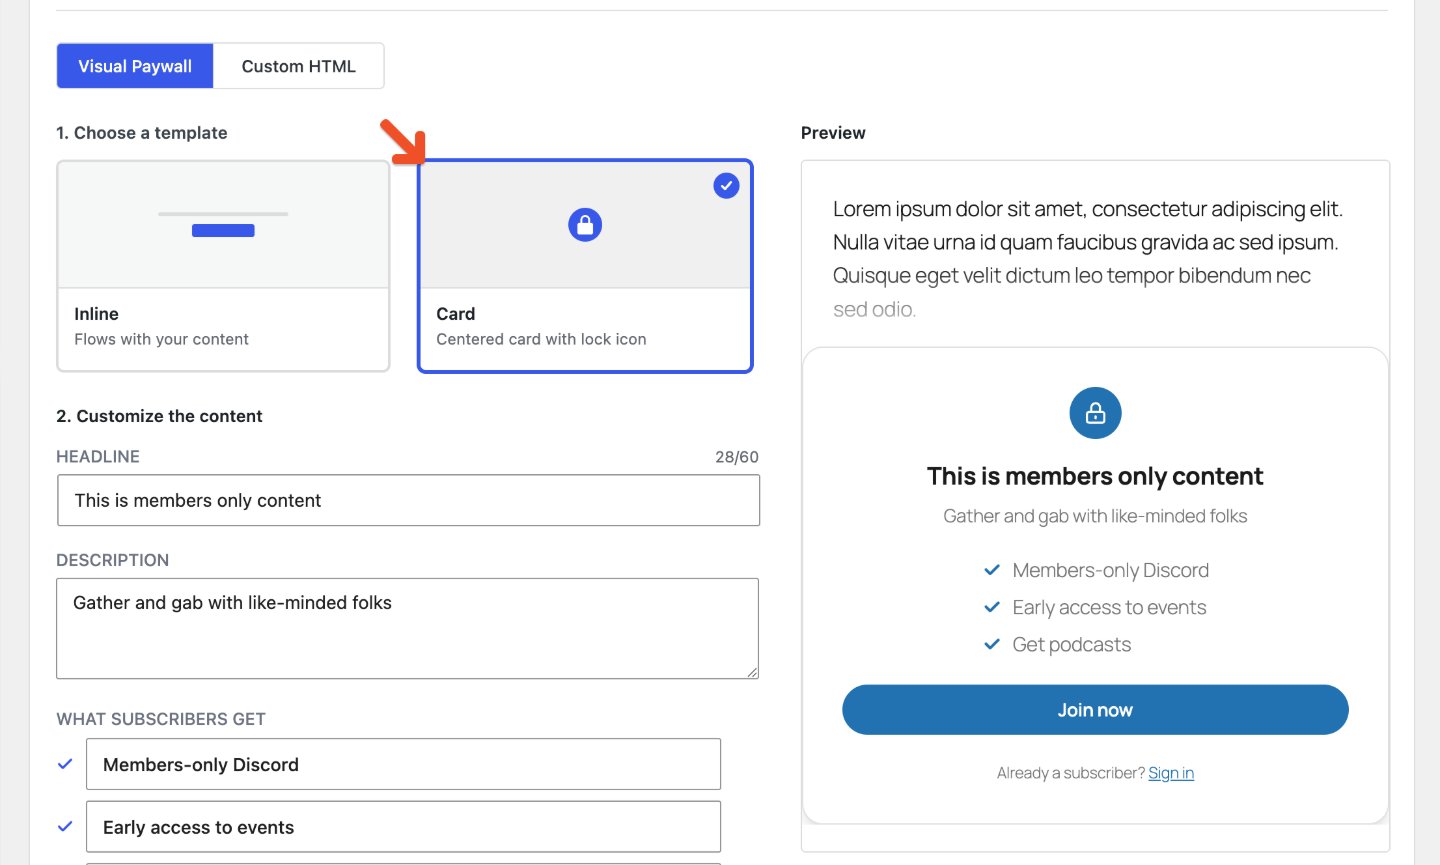
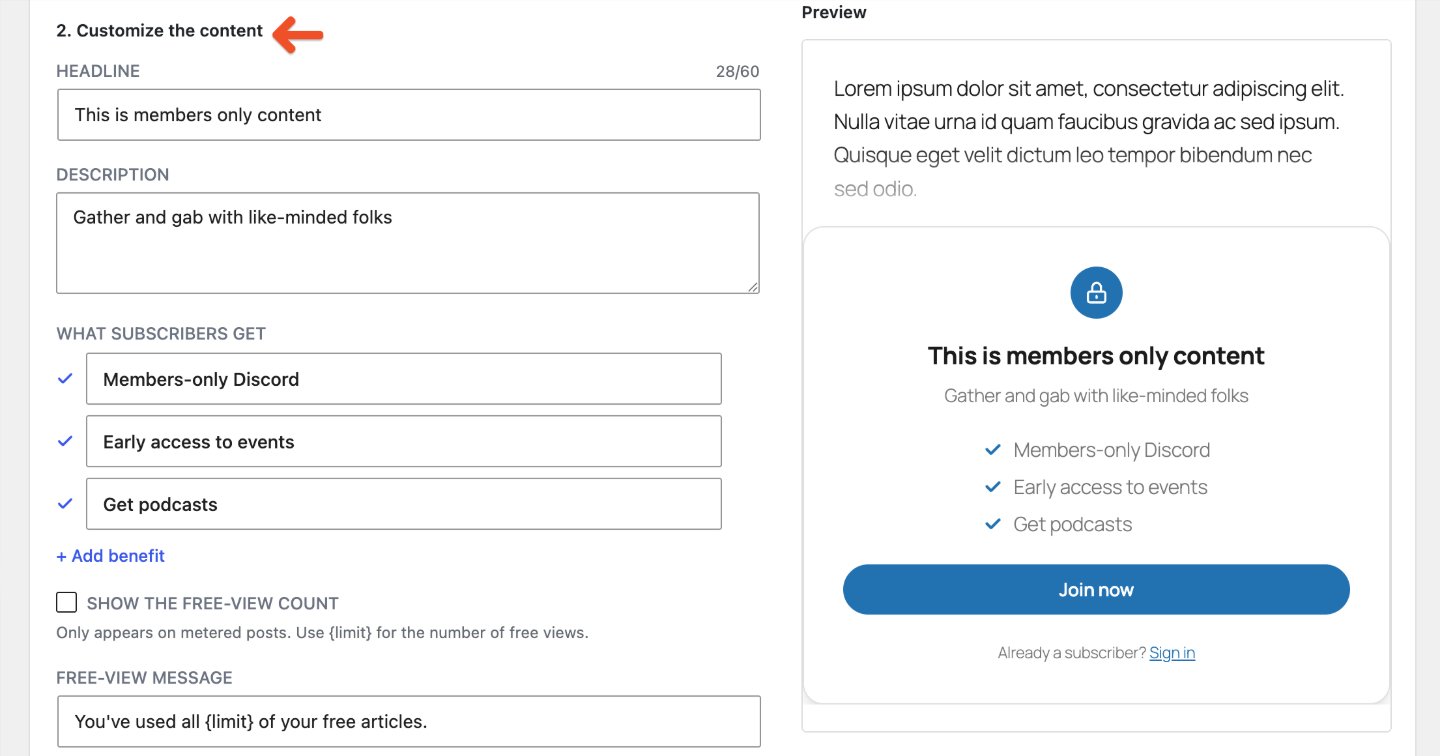
Customize the content
Enter the content visitors should see when they reach protected content.- Headline: The main message visitors see.
- Description: A short explanation of what members get or why the content is protected.
- What subscribers get: The benefits included with membership.
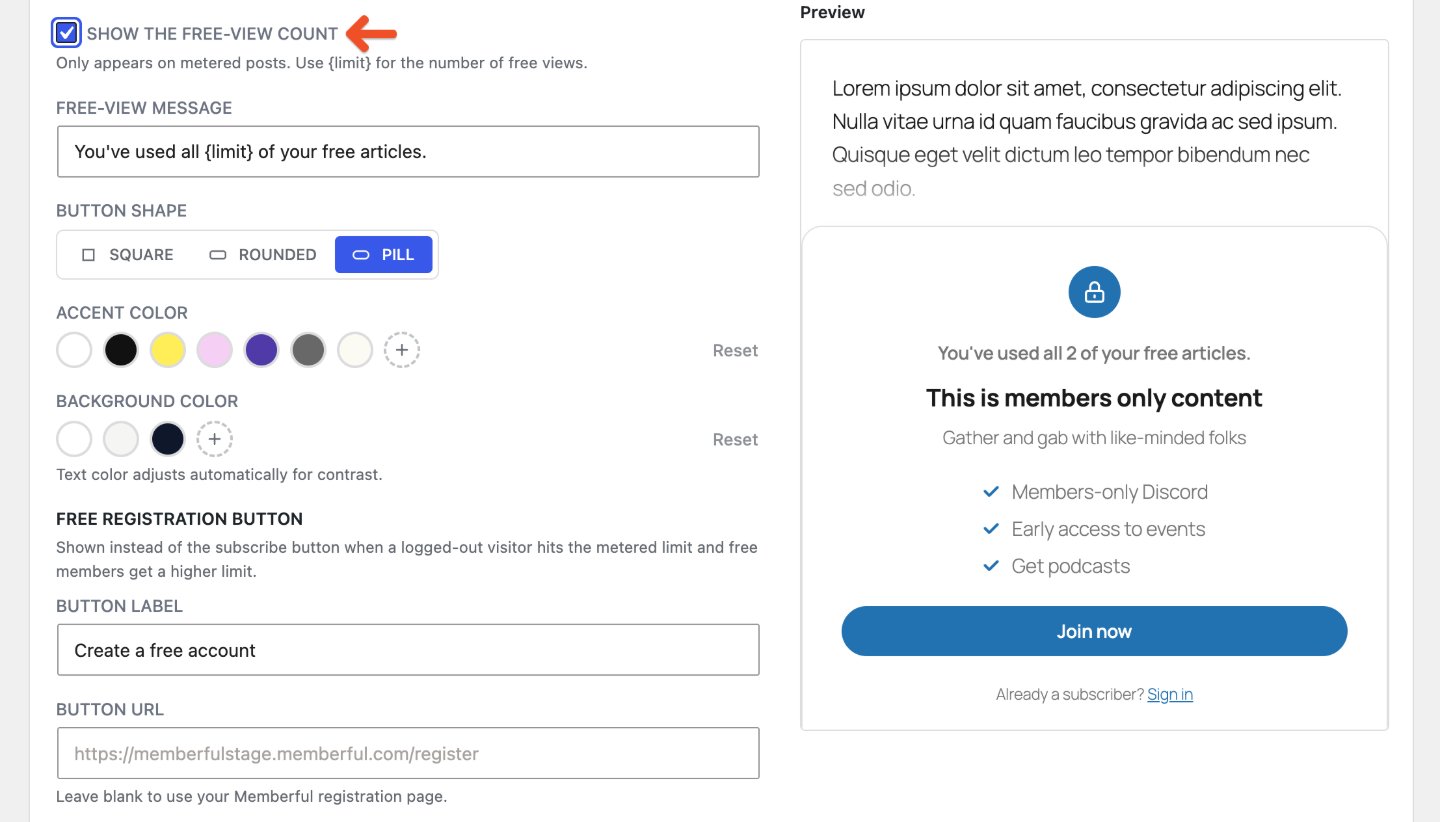
{limit} where you want to display the number of free views.
Customize the design
Use the design settings to match the paywall to your WordPress site.Choose a button shape
Choose one of the available button shapes: Square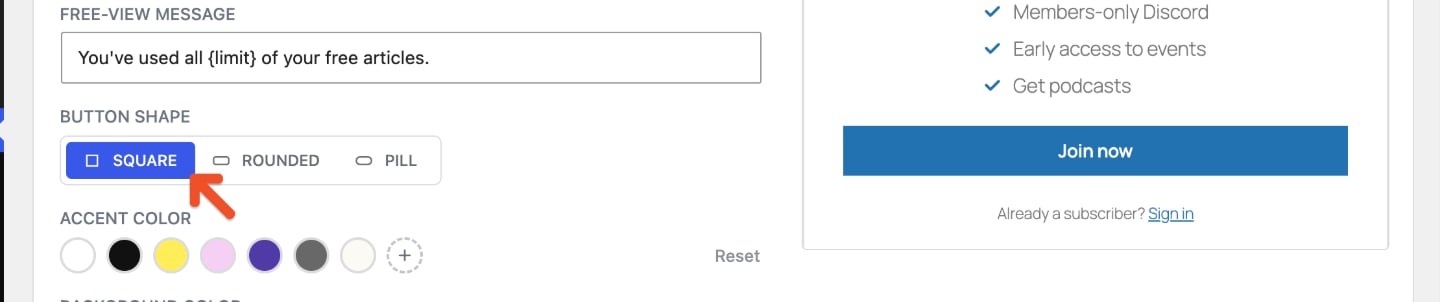
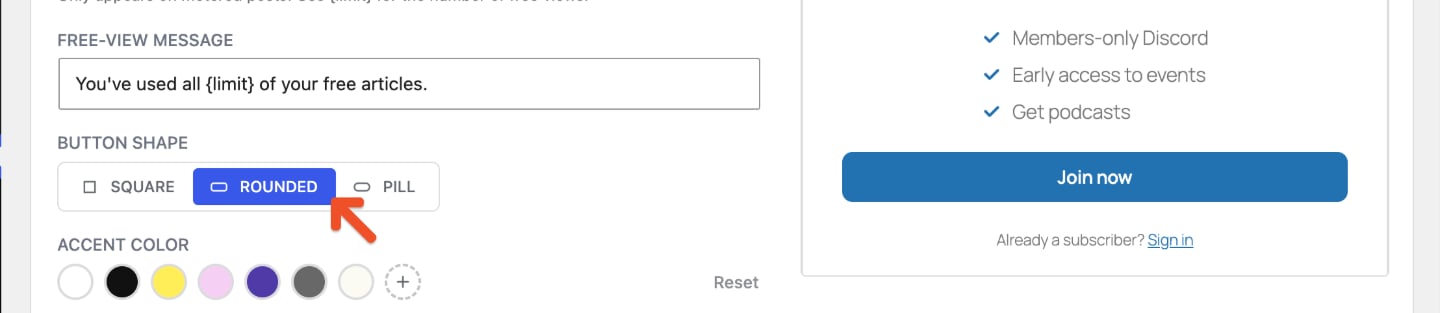
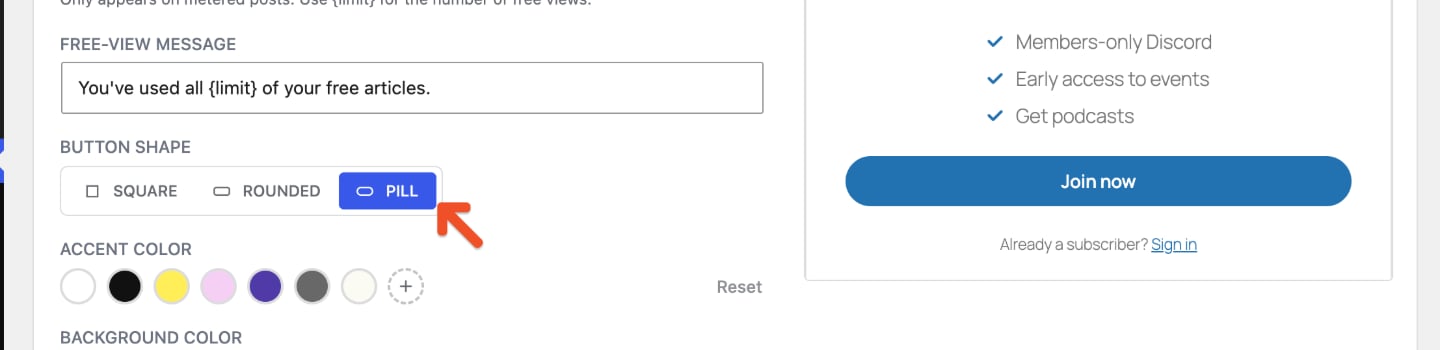
Choose colors
Choose an Accent color and Background color for the paywall. The accent color is used for elements such as the button, lock icon, and benefit checkmarks.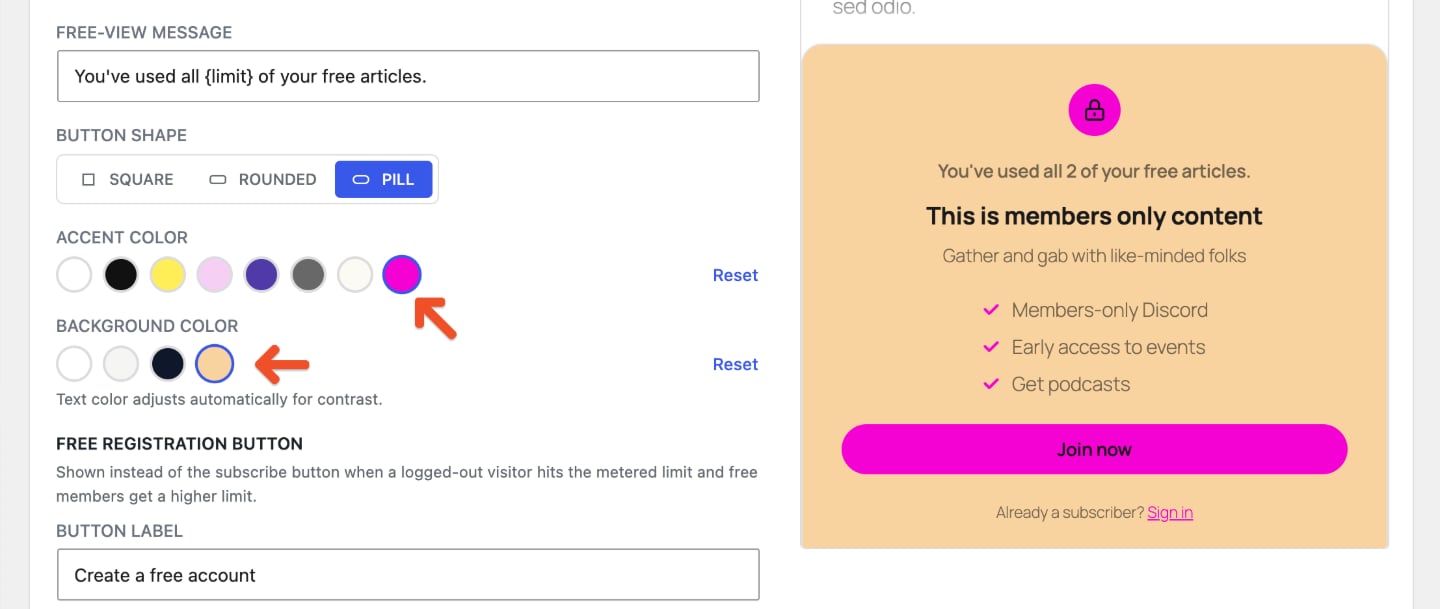
Customize buttons and links
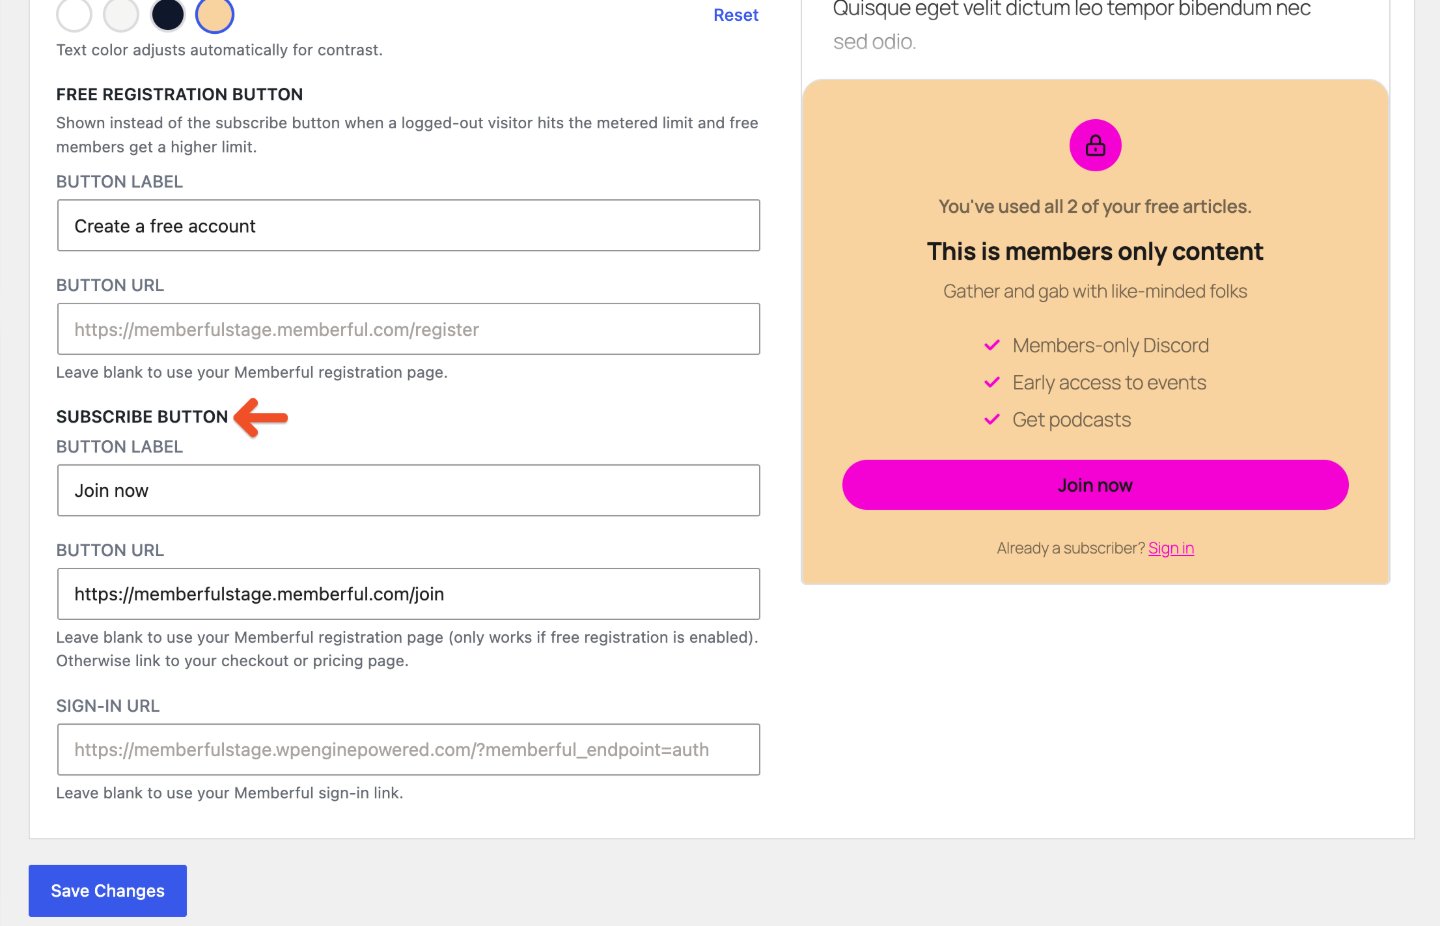
Customize the button labels and choose where each button sends visitors:- Free registration button: Enter the button label and URL. This button appears instead of the subscribe button when a logged-out visitor reaches the metered limit and free members receive a higher limit. Leave the URL blank to use your Memberful registration page.
- Subscribe button: Enter the button label and URL. Leave the URL blank to use your Memberful registration page if free registration is enabled. Otherwise, enter the URL for your checkout or pricing page.
- Sign-in URL: Enter the page existing members use to sign in, or leave it blank to use your Memberful sign-in link.
Review the visitor experience
After you save your changes, open a protected post or page while logged out to see what visitors will see. Review the teaser content, paywall copy, button label, and sign-in link before sharing the content with your audience.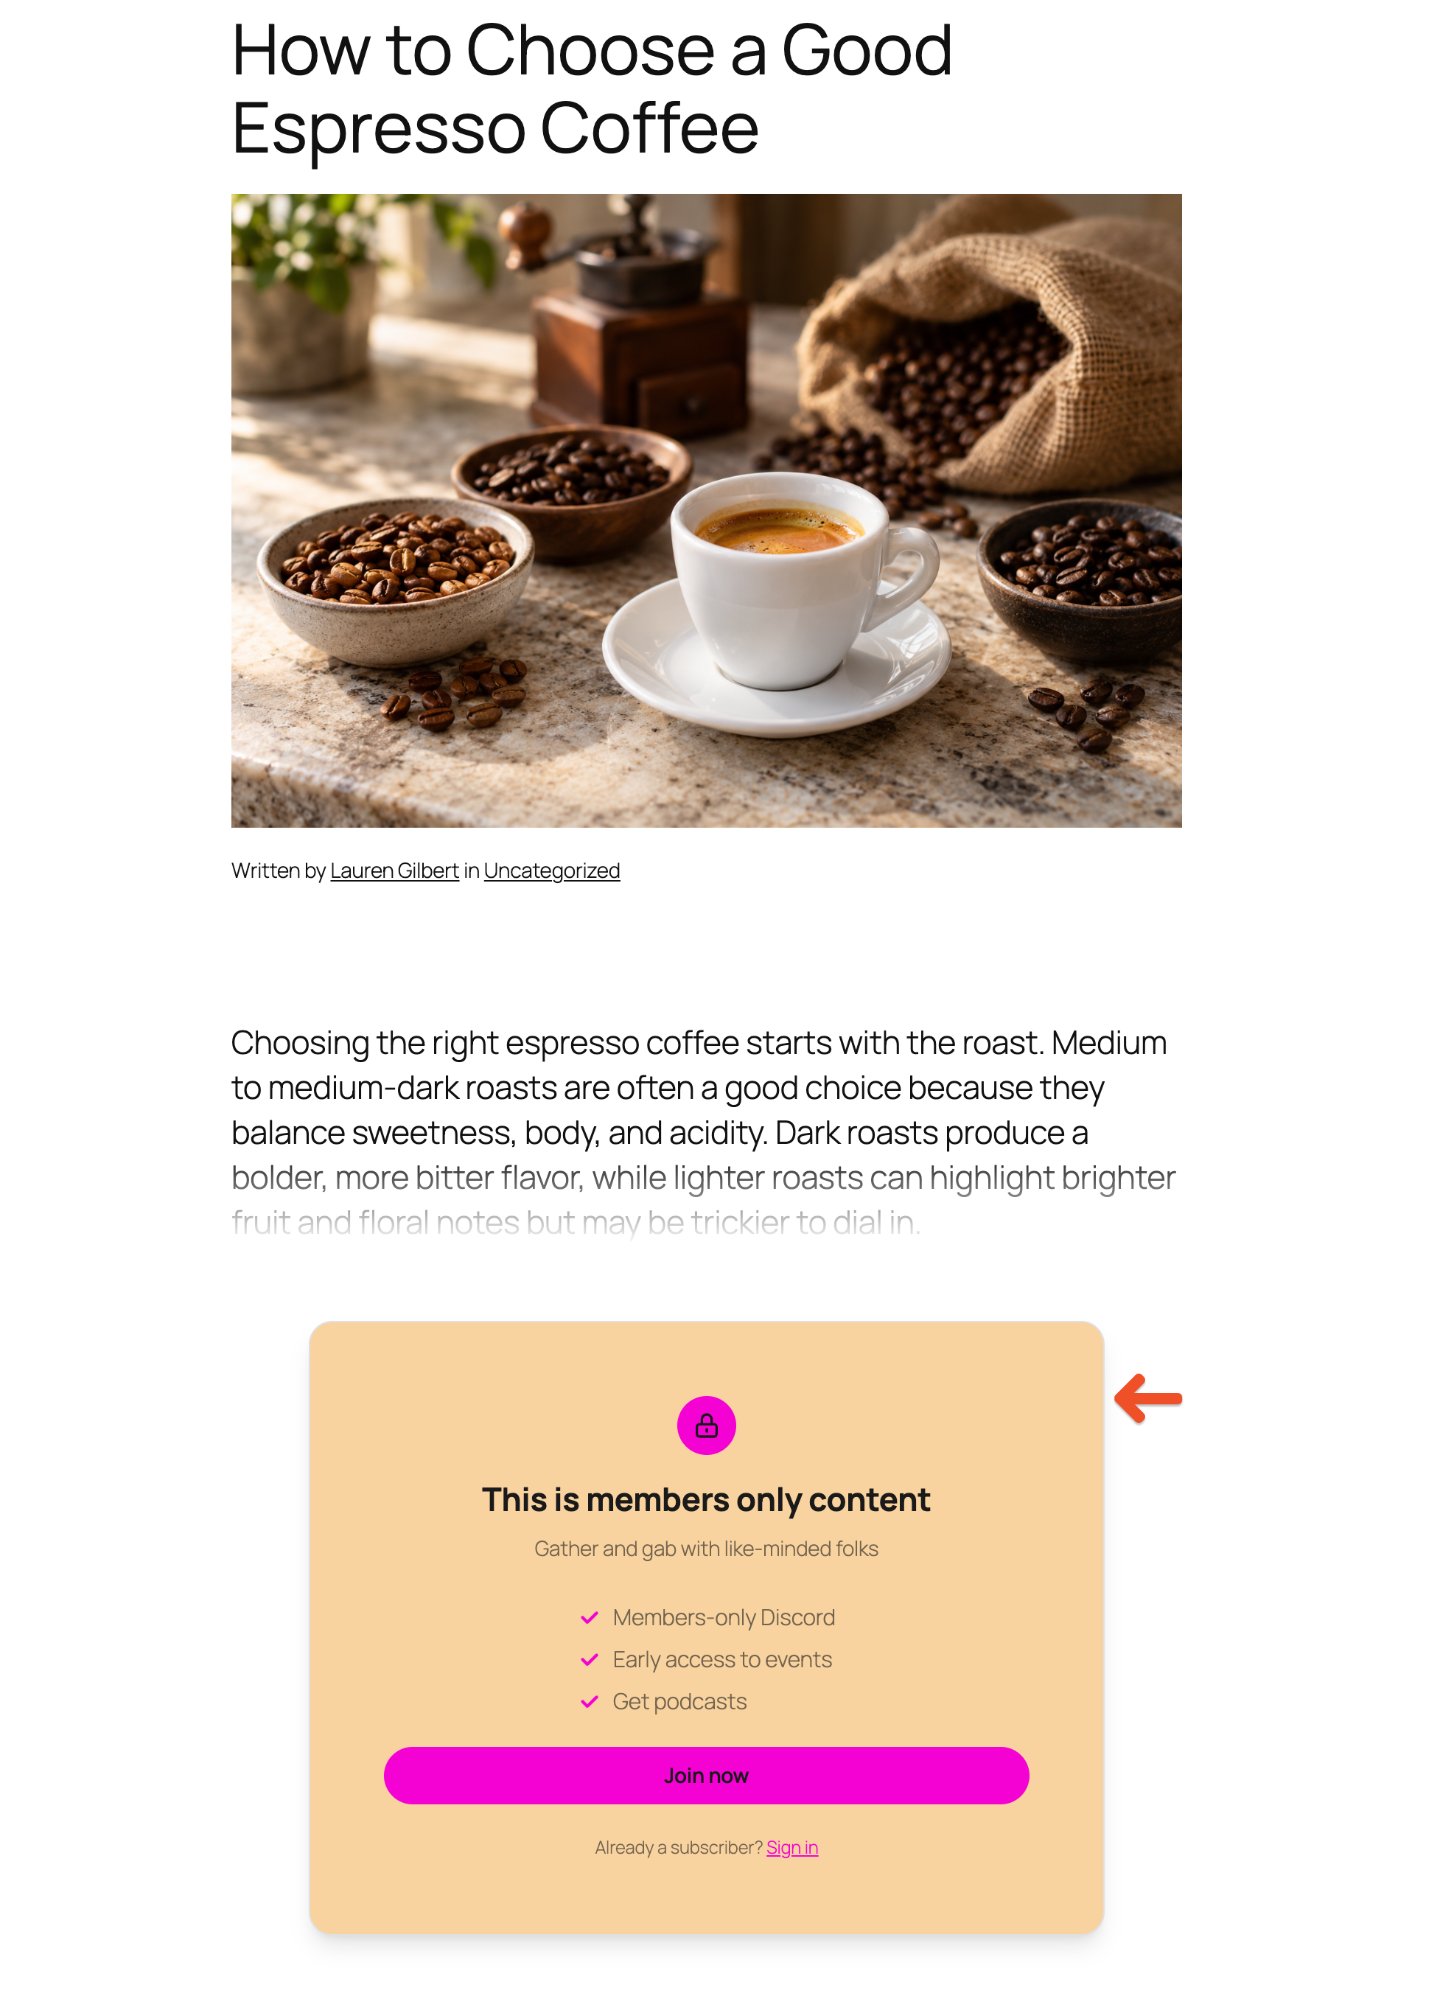
Use Custom HTML
Click Custom HTML if you need to build your own paywall.- custom layouts
- custom code
- advanced styling
- design behavior that is not available in the Visual Paywall settings